


This was a super thrifty project- We're talking $3 in frames (yes, they're the same color of the crib and glider wood!) from the dollar store- 11x14" even- They're big! The letters came from a pack that was $3, and I used only 1/2 of the pack, so lets call it $1.50. The rest of the materials I had on hand: white fabric, acrylic paint, spray adhesive, fabric glue...
So, here's how the second attempt at my alphabet artwork came together.
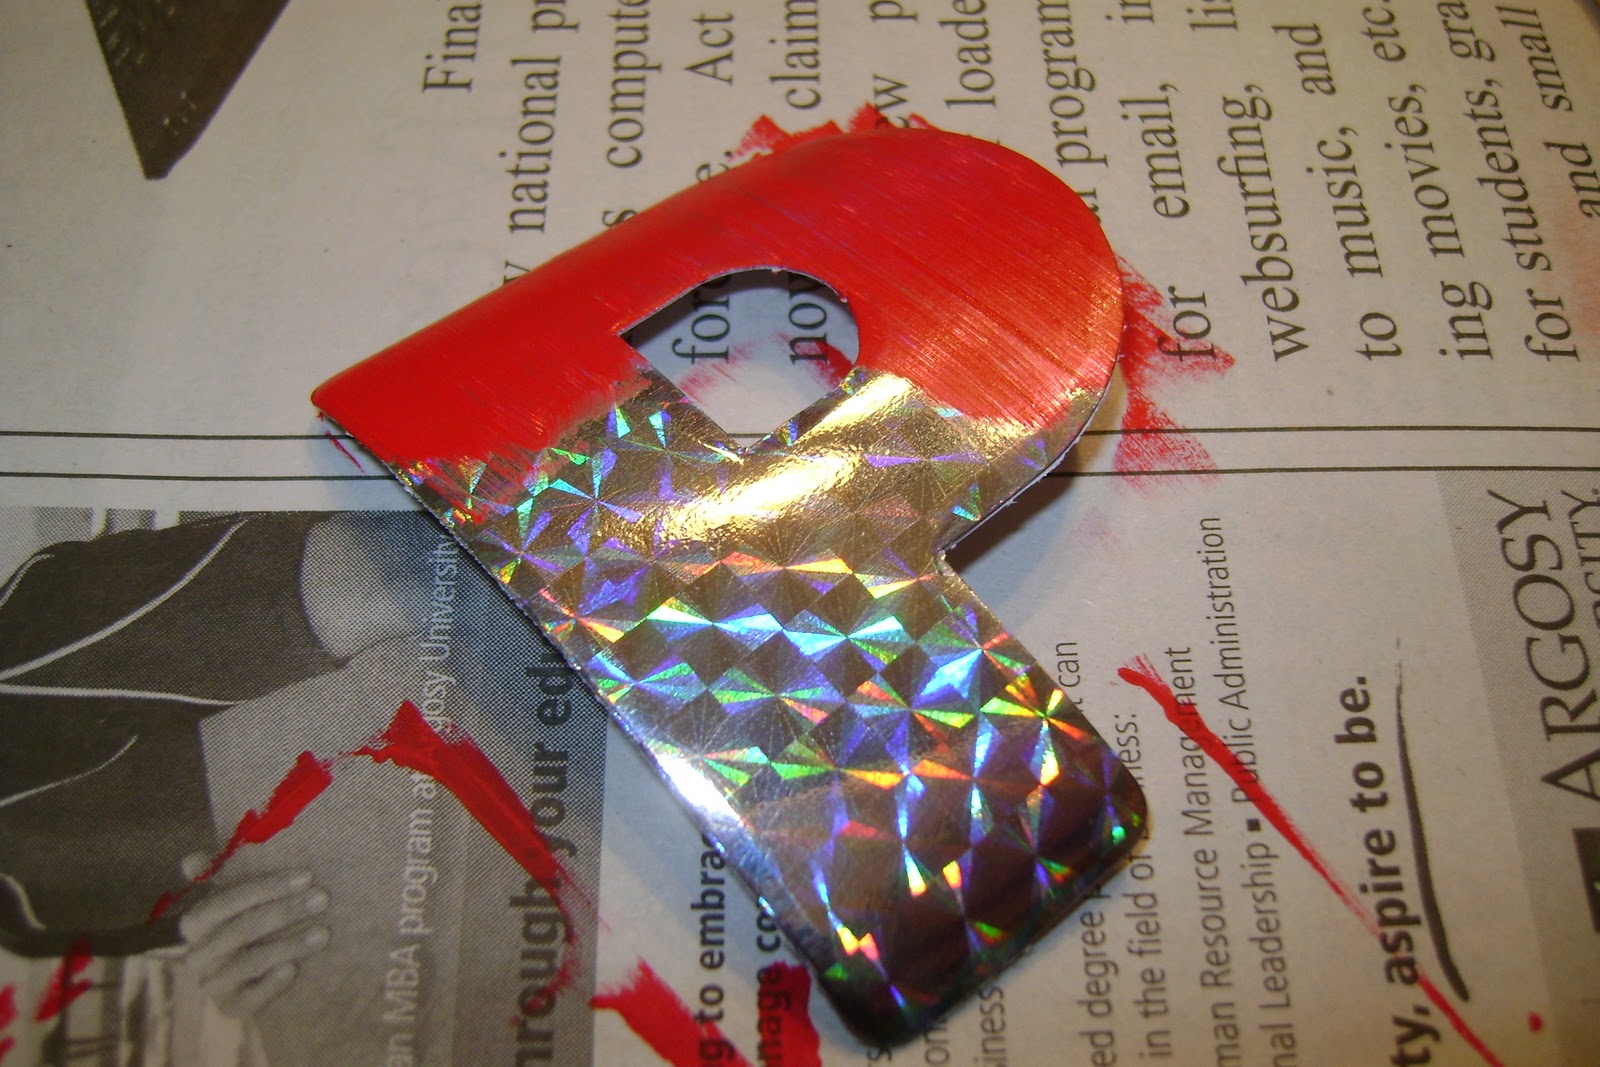
I found this pack of letters at the one trip I've made to Walmart in years. They were $3 for the pack, and turned out to not be what I thought they were (I thought they were cardboard, turns out they're more like post it note letters...). I used the holographic letters that were also included since they were coated, and I knew the acrylic paint would stick much better than to the black paper letters.

I organized them in the frames (with the black letters first), and started painting with the 5 coordinating colors in totally random pattern. (I don't do random well, but it seemed to work this time!)

Each letter took at least 2 coats. Some of them took 3 since the paint brand was a little cheaper (more water in the paint?)


I took these $1 11x14" frames from the dollar store, and removed the cardboard backing. I used the spray adhesive to adhere the frame insert upside down to the cardboard, and then used the spray adhesive again to adhere the white fabric to the boards. (I used this same curtain liner fabric for the laundry basket liner I made. I guess it worked out that I had extra) I used my rotary cutter to trim the excess fabric so it was nice and snug in the frame.


Then, I used fabric glue to attach the letters in the predetermined pattern to the white boards. Clean the frames up with some windex, and snap back together! Then, photograph for blog...


They're not hung yet. What I'm trying to determine is whether they should go horizontal along the wall, or vertical. You be the judge (but quickly, since baby is coming any day now!). The reason for the question is because I still need to incorporate the mobile into the room, and I figured it would go in the corner by the dresser. So here's the wall the alphabet art will go on. What do you think orientation wise?


Let me know what you think!


