Pages

WELCOME!

Happy 2012!

Welcome, won't you stay a while? There's so much to do, and we hope to share it all with you this year. Design, crafts, frugal living... You'll find this and more at Design-Aholic!

Showing posts with label silver. Show all posts

Tuesday, December 15, 2009

Rhinestone Cone Trees

Ok, so if you saw my post the other day on my holiday indoor spaces (outdoor space(s) also posted...), you may have noticed that I mentioned I would show you how I made the Rhinestone trees that are currently on the mantle.


There's not much to them really- you just need some time.  Ok, a lot of time.  I'm not sure if they were worth making myself as I saw some similar items randomly while shopping.  Nonetheless, here they are.  And yes, they are really sparkly, so I do love them.

First I purchased three 8" cones at the dollar store.  (This is great- when you see them, you should grab them.  Oh, and some of the floral foam, and the wreaths.  They're much pricier at Michael's and Joann's.)

I sprayed them with Silver Spray paint.  But, get this.  I found that spraypaint actually melts the styrofoam.  So, to help, my advice is to not target the paint in one area too long, or else use craft paint.  You'll need to color the cone though, because the rhinestones don't all match up, and there will be foam space in between.  It would look rather tacky if you could see white foam in between the silver (or whatever color you use!) foam!


I had purchased a 1 lb bag of silver rhinestones with a 40% off coupon.  they were the nice kind- not plastic... maybe acrylic?  perhaps glass... The bag came to about $8.  (After the three trees, I still have about 1/2 the bag left)


Use your hot glue gun, and add a dab of glue to the cone itself.  Stick rhinestone on.  My bag contained various size stones and I took advantage of that.  The other thing was that I tried to put the stones on in clumps, rather than in lines, so that they didn't look so structured, and appeared softer.


I made three of these.  It took about an hour each.  Fun yes, tedious yes, blingy... YES!

Even though I made three of these, I couldn't find the right place to display them together, so I added them to my mantle display on my mirrored candle holders.


I'm sure you've got some sparkle, and bling around your house this year, no?  Are these cheesy?  I can't seem to take a good photo of the mantle, but I swear they look better in person.  I blame the 70's style brick work that extends floor to ceiling.

Only 9 days till Christmas, yeehaw!

Thursday, December 10, 2009

Pearl Passion Ornaments

Ok, so do you all just get on one of those "kicks" and all of a sudden become a madwoman productive?

That sometimes happens to me (ok, a lot of the time happens to me) but yesterday was even above my normal craziness!  Perhaps it's the looming party deadline (see this post for everything I have to do TOMORROW) but I fell into the spirit yesterday and tackled many decor and prep tasks for Saturday.

I made these too, what a nice surprise!


I was digging through one of my craft boxes for some fishing line I know I have to hang some glittery snowflakes, and came across a stash of craft perals in all different sizes, that I've probably had for 10+ years.  Then, I recalled a failed project I never posted, but related to one I will post soon, that involved styrofoam balls.  The light bulb went off.  No, really, it did!  I could adapt this project Lindsay posted on Centsational Girl showed us to make some classy ornaments for my tree!

So, here you have it folks: how to make Pearl Passion Ornaments!  Enjoy!

Materials Needed:

2" styrofoam balls (mine came in a 12 pack)
dressmaker pins (small box has like 350 or something in it.  I used nearly the whole box for 2 ornaments of this size)
Pearls (I used about 300 on 2 ornaments)
Silver beads (smaller than the opening of the pin head, and the pearl opening so they don't slip off)
ribbon, rope, or other string to attach as a loop
Hot Glue Gun (optional)


This is so simple, it's not really tutorial worthy, but here we go:

Take a pin, and attach one silver bead, then a pearl.  Push the pin into the foam.  Yep.  That's basically it!


After I put the first full circle of pin+bead+pearl pins in, I cut my gold cord ribbon to the length, and attached with a pin.  I hotglued it down  into the styrofoam, then glued on top again.  Depending on the ribbon you use, you may be ok with pins only.


I read somewhere to do a full circle around one direction, then switch 90 degrees and do another circle.  Then, you should have 4 distinct sections to fill in.  This seemed to work well for me.


I made two, and hung them on the tree!


 Can't you just envision the variations you could do?  I think these would make pretty vase filler, or table accents.  I want to do a LARGE one and use in the off season.

If you make it, I want to see!  :)

Friday, December 4, 2009

Monogram Tags

Quick crafty name tags:


I stopped by Pottery Barn today (mecca!) to pick up what happened to be the LAST of this item in my area... it may or may not be a gift for a friend that may or may not read this blog.  :)


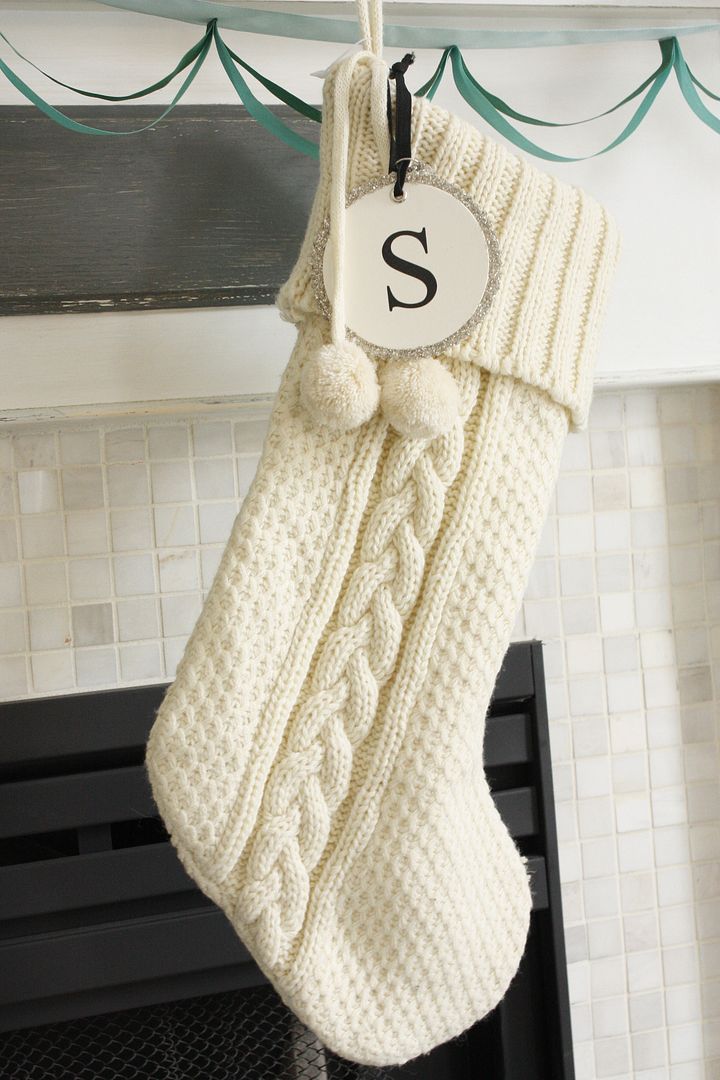
Anyway, on my adventure, I saw these great monogram tags on the hostess gift table, and thought they looked simple enough to make, and so classy!  (I can't find them online, but check out LifeInTheFunLane for their use on their stockings, as name tags.

Since my christmas tree has been totally bare for *GASP* 5 days, I HAD to wrap the presnt I bought right away tonight, which also meant a CRAFT project, TONIGHT!  Weehaw!

So, here's my version- quick and dirty, and fine for the three gifts that will be involved in our girls gift exchange.


Here's how:

Materials used:
Red thin foam sheets, like in this silhouette project
White watercolor paper
A tracer of two different size circles.  I used a drinking glass.
Glitter glue, tacky glue, black acrylic paint
Ribbon to tie to your packages
Letter stamps in your font choice
scissors, hole punch

First, I traced the large side of the glass onto the foam piece as this was going to be the backing to show color through.


Then, trace your smaller circle on the white paper, and attached the white paper with tacky glue to the larger foam circle.


I then squirted some black acrylic paint onto aluminum foil, and painted onto the stamp letter.


An interesing thing happened when I stamped onto the watercolor paper: all the paint squished to the outter edge, and came out looking like an outline.  Kinda cool, but not how I envisioned this project.  So, I took my paint brush, and filled the letter in.  Then, I used the hole puncher and made a hole for the ribbon.


Next, while not the pattern on the PB version, I used my glitter glue and zig-zagged around the edge of the paper and on the foam.  This also helps adhere them together.  Let dry, then attach to your presents!


And, then, attach to your perfectly wrapped present!


 I may make black and white versions for other family presents, or as tags around the house... Think of all the variations of this project you could do... they seem endless!

Friday, November 27, 2009

The FINALLY Wreath

Have you ever seen something in a store, that you think you just have to have, but it looks so simple to make?  I'm pretty crafty (duh) and felt I may have been the only one in the world without one of these yet:


After seeing a few posts in blogworld lately on how to construct one, I promptly knew what I would do with the stacks and stacks of red & silver ornaments I had been picking up while thrifting over the last month in anticipation for the season :)

First, I tried it the way I saw it over at Thrifty Decor Chick and at Chris's place, Just a girl.


(I have to say, this wreath may be in my future for Easter...  I don't even want to think THAT far ahead yet!)


But that was a big, fat FAIL for me.  Even Eddie Ross did it, but I couldn't?


Boo.  I felt the crafting spirit drain from my body.  THEN, I realized I had two 10" foam wreaths that I could use.  Done.  And the crafting spirit was back, baby!

Here's what YOU need to make this in my version, and how I did it:

(I made two wreaths, so I used twice this material)

Foam wreath, 10"
Red Spray Paint, Cardinal Red
~48 ball ornaments of various sizes (for each wreath)
Glue Gun
Ribbon (to hang)


I sprayed the foam wreaths with cardinal red spray paint, because when working with round objects, you'll never be able to cover the entire surface properly (learned this while making this project).  So, in order to blend in, I painted the wreath the color of the majority of the ornaments.

After taking Chris's advice, I glue the tops on all of my ornaments prior to beginning.  In reality for my version (glued to the foam wreath) I probably didn't need to, but when someone like Chris or Eddie tell you to do it, you do it.  :)

I just started gluing the largest ornaments on first, then started filling in with smaller ones, working in sections so that it looked full.  Its supposed to look random, yet still circular.


I added a small ribbon and hid it under the ornaments, so that later I could use it to hang with if need be.


That's it!  Super easy project, but a bit tedious to make the ornaments fit in the sections the right way- sort of like a puzzle.  Add a ribbon, hang, and again, admire your work!


And, here's the aftermath of the boxes, and boxes of ornaments I used to complete these two wreaths :)


 I added my wreaths to flank the sides of the front room windows.  With the tree tomorrow, they'll add a nice pop of color to the blue walls.

Cost:

2 Foam Wreaths, $2 ($1/ea at Dollar Store)
Ornaments, $16
Spray Paint, already had

$18 for two wreaths :) and a big smile on my face

Have you done this project???  Any suggestions to the readers for those that have yet to create it?

Sunday, November 22, 2009

Tinsel Garland Trees

It's Thanksgiving in T-minus 4 days, but as like most of us, the Christmas bug has hit!  It's my favorite time of the year.  I wish it felt more like Christmas here in CA, but it's been rather warm, and no rain.  Boo.  So it's a bit harder to realize it's the season!

Anyway, I digress.  I found a few Christmas Tree cone projects out there in blogland, and really liked the idea!  I purchased two larger white cones, perfect to make trees... but it took a while to decide what I wanted to do!  I gathered pine cones, while in Tahoe last weekend, and had thought to make a pine cone tree, but decided against that for now.  While thrifting last week however, I found two gloriously sparkling tinsel garlands for $.99 each (one was 21' long, the other 15' long.  I used all but 1 ft of the 21' garland, and half of the 15' garland).  I woke up this morning realizing I FINALLY knew what I wanted to do!  Tinsel trees and glimmering bows on top!


Here's how I made them...

I purchased 2 cones at Michael's, 1 was nearly 24", and the other 17" tall.  I used a 40% off coupon on the larger one, so the two of them together were $16.  I also had purchased a roll of silver dotted, wire edged ribbon last week for 50% off, so it was $3 for the spool for 10 yards.  I gathered up my hot glue gun, and extra sticks.


I had to repair a crack in the larger cone, after already taking the first one I purchased back.  I just used some hot glue in the crack, and really smushed it together.  :)


Then, I started at the top of the cone, and wrapped my way down!  I glued about every 2nd wrapping to secure the rings.


After both were wrapped, I tied bows out of the silver ribbon, and glued the heck out of them to the top.  I may pin them later to make sure they stay.  :)


Fluff the tinsel garland, and display!  These quickly became one of my favorite projects... I was just staring, and staring, and...


Awww, this really helped get me in the spirit...  Now where's the Peppermint Hot Chocolate?!
Related Posts with Thumbnails