


I stopped by Pottery Barn today (mecca!) to pick up what happened to be the LAST of this item in my area... it may or may not be a gift for a friend that may or may not read this blog. :)

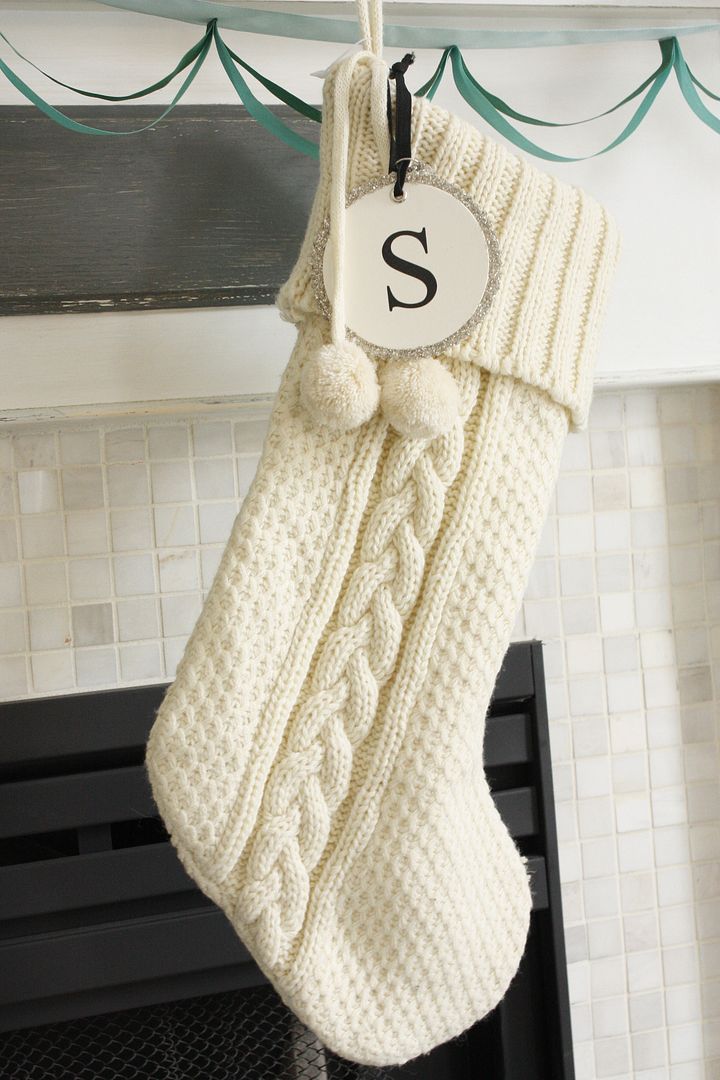
Anyway, on my adventure, I saw these great monogram tags on the hostess gift table, and thought they looked simple enough to make, and so classy! (I can't find them online, but check out LifeInTheFunLane for their use on their stockings, as name tags.
Since my christmas tree has been totally bare for *GASP* 5 days, I HAD to wrap the presnt I bought right away tonight, which also meant a CRAFT project, TONIGHT! Weehaw!
So, here's my version- quick and dirty, and fine for the three gifts that will be involved in our girls gift exchange.

Here's how:
Materials used:
Red thin foam sheets, like in this silhouette project
White watercolor paper
A tracer of two different size circles. I used a drinking glass.
Glitter glue, tacky glue, black acrylic paint
Ribbon to tie to your packages
Letter stamps in your font choice
scissors, hole punch
First, I traced the large side of the glass onto the foam piece as this was going to be the backing to show color through.

Then, trace your smaller circle on the white paper, and attached the white paper with tacky glue to the larger foam circle.


I then squirted some black acrylic paint onto aluminum foil, and painted onto the stamp letter.


An interesing thing happened when I stamped onto the watercolor paper: all the paint squished to the outter edge, and came out looking like an outline. Kinda cool, but not how I envisioned this project. So, I took my paint brush, and filled the letter in. Then, I used the hole puncher and made a hole for the ribbon.

Next, while not the pattern on the PB version, I used my glitter glue and zig-zagged around the edge of the paper and on the foam. This also helps adhere them together. Let dry, then attach to your presents!

And, then, attach to your perfectly wrapped present!
I may make black and white versions for other family presents, or as tags around the house... Think of all the variations of this project you could do... they seem endless!


